Updating My Megatree

Indigogyre

Journeyman Elf
Generous elf
Joined
Jun 26, 2021
Messages
427
There are many different Megatrees but this one is mine.

My megatree started life with 24 - 50 pixel strands spaced 2" apart. It was nice and looked awesome from down the street but was a little harder to see details when someone was fairly close on the sidewalk or in front of my house. This worked well for two years but I decided to upgrade it for this year.
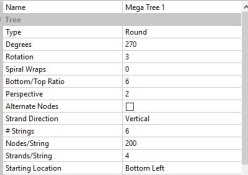

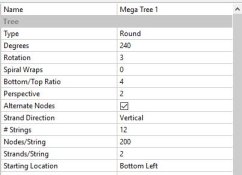
Megatree1.JPG

Megatree1Wiring.JPG


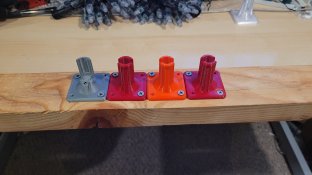
My first year I made a jig of sorts to help push pixels into strips. There are different ways but this one worked out for me. I clamp the 2x4 to my desk to keep it from moving.


01-Jigs.jpg

I'd load up the jig and push the pixels into the strips.
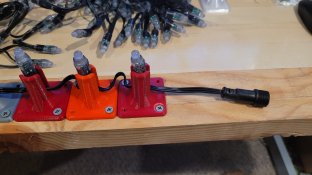
02-Setup.jpg

03-Start.jpg

Now I had a strip of 50 once I was done with the original strands.
 

Indigogyre

Journeyman Elf
Generous elf
Joined
Jun 26, 2021
Messages
427
The next step was to figure out how to modify the Megatree in an easier way. Since there were extra holes I decided to go with alternating nodes so I would only have to fill in the empty spaces with more pixels.

Megatree1a.JPG

After reviewing everything I was ready to start pushing pixels once more.
Megatree1aWiring.JPG

Looking at the wiring diagram I had to make sure that each strand started with an input. Last year I had 12 strands that started with an input and 12 that started with an output so I could wiring them all together. This meant that when I started the strand I either started behind the input pixel or in front of the last output pixel. I did mix it up once and caught it early so only had to redo about 6 pixels. I also messed up once on the spacing which is hard to think since they are every other one. Turns out I was distracted and skipped over an empty hole and had to redo a few more.

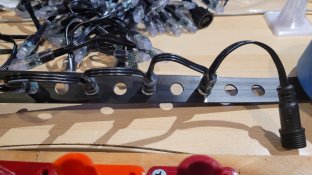
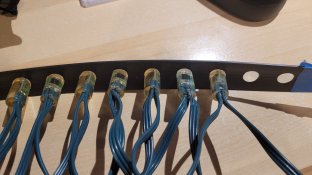
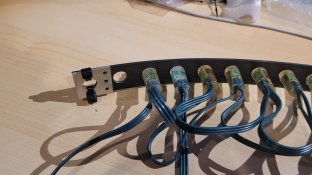
The start of the strands.
00-Begining.jpg

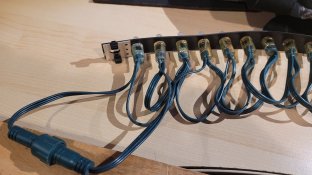
The end of the strands
00-End.jpg

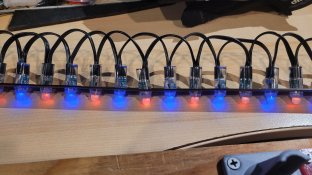
Testing the completed strands with orange on the first 50 pixels and blue on the last 50 pixels to show the alternate nodes. The test device with a Dig-Uno set to 2 segments.
05-Test.jpg
 
Last edited:

Indigogyre

Journeyman Elf
Generous elf
Joined
Jun 26, 2021
Messages
427
Lessons learned:

I almost had to redo all the strands from scratch because when the originals were made there was not a lot of extra space at the top. When updating the strands the tops ended up either completely next to the last clip or there is an extra hole at the top. When making the original strands I needed the 3" in order to secure them to the topper so it was a lucky break. I plan on changing all of the clips to new ones so I can trim off the extra inch to make sure they all align properly.

End02.jpg

Ask questions and I will be glad to answer them if I can. This is just how I decided to go from 1200 to 2400 pixels in the easiest way for myself. :D
 
Last edited:

Iain

Full time elf
Joined
Nov 13, 2018
Messages
242
Location
Darwin
That’s awesome. I think I’ll start with your new resolution when building next year for the same reason. You can only view mine (not yet built) tree from one spot and not far away.

I assume they’re 3D printed thingamebobs for the jig? Mind sharing the files?
 

Indigogyre

Journeyman Elf
Generous elf
Joined
Jun 26, 2021
Messages
427
I used the v3 version of the base from here.

 
Top